by Nick Di Cristofaro
Nothing throws off the look of a road bike like worn out, dirty bar tape. You can freshen up your ride by replacing the tape regularly to keep it from getting too worn or torn. Fresh tape just makes the bike look and feel great again. I have probably wrapped thousands of handlebars throughout the years. As with any skill, practice makes perfect. A simple task it may be, but for that pro look, follow these steps.
Out with the old
Remove the old tape and clean up any residue on the handlebar. Sometimes bits of the old tape may be left behind. You don’t want to wrap over the gunk as it might create bumps and bulges.
Capitalize on the clear view
When you have the bar tape removed, it’s a good time to inspect the cable housing and ferrules where they enter the shifters. Make any needed replacements. This is also a good time to re-position the shifters on the bar if you need to as it is much harder to make these adjustments when the bars are wrapped.
Plan your route
Using electrical tape, secure the cable housing to the handle bar evenly. Next, decide where you want the handlebar wrap to end. If you have an aero bar with flat tops, the tape will likely stop soon after the shifter. With a more traditional bar, bring the wrap closer toward the stem. Use electrical tape to mark the end points and add some extra security to the housing. I like to use a pair of scissors to gauge an equal distance from each side of the stem.
Clamp down
Take the two extra pieces for covering the shifter-lever clamps. Cut them to the exact length of the clamp beforehand so they’re ready to go. You can also extend each one a tiny bit past the clamp on certain lever types to cover ferrule junctions. Don’t extend it so much that you cover brake hood lugs. Take your first roll of tape. If it has a paper backing, remove it completely to make the tape easier to work with.
Get wrapping
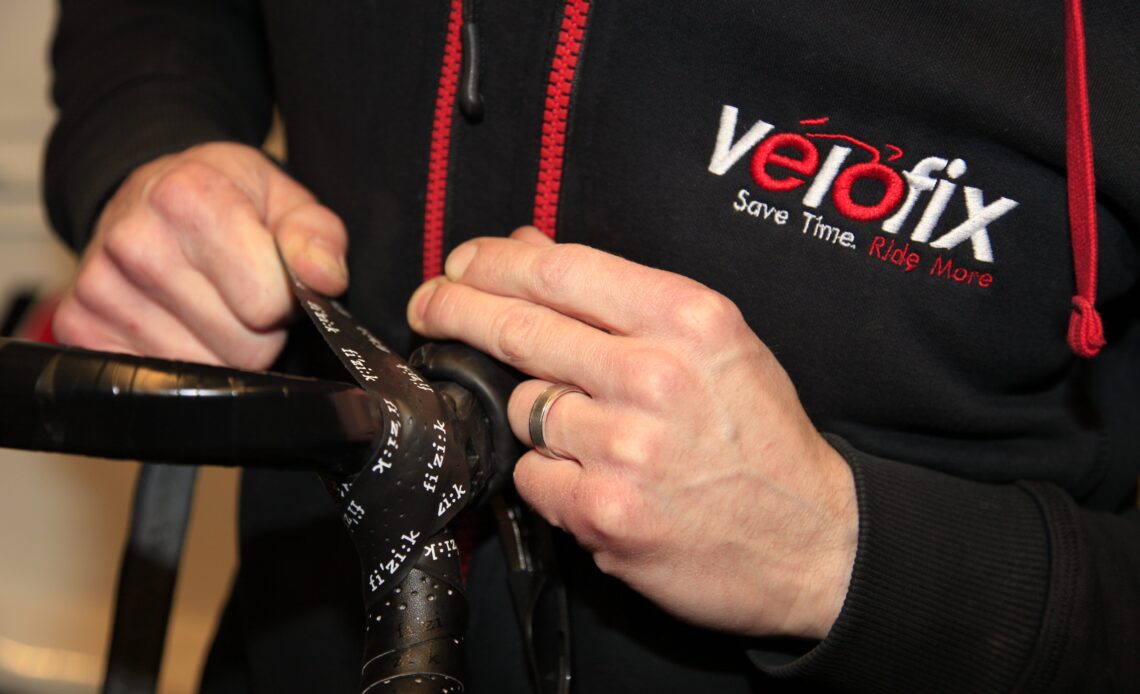
Start your wrap at the bar end. Always wrap from the inside outward. On the right side, you’ll wrap clockwise; on the left, counter-clockwise. When you put the tape on this way, the wrapping job will resist the stresses from the rider’s hands in the drops, which tend to pull the tape in the opposite direction. Position the end of the tape so it extends about halfway over the edge of the bar. Keep the tape taut while wrapping a couple turns. At this point, install your bar plug and give it a light tap with a mallet if needed. Putting in the plug early allows you to go back…
Click Here to Read the Full Original Article at Canadian Cycling Magazine…

