
Grips are one of the most critical contact points on your bike and properly installing them is key to both comfort and control. Do you need to read an article on how to install them? Probably not. It’s pretty simple. But there are a couple trips and tricks that will make the whole process a lot easier and more successful. Here’s a straightforward guide to installing mountain bike grips, including both push-on to lock-on styles.
Choosing the right grips
Mountain bike grips come in two primary types: push-on and lock-on. Obviously colour is a huge part of the decision, so make sure to get the colour that’s gonna complete the look of your badass whip.
Push-on grips: These are lightweight and popular with cross-country riders. Made of rubber or foam, they rely on friction to stay in place. They’re comfortable but can slip if not installed correctly. If you get water or dirt under the grip, they’ll spin, resulting in the legendary and sometimes terrifying, “throttle grip.”
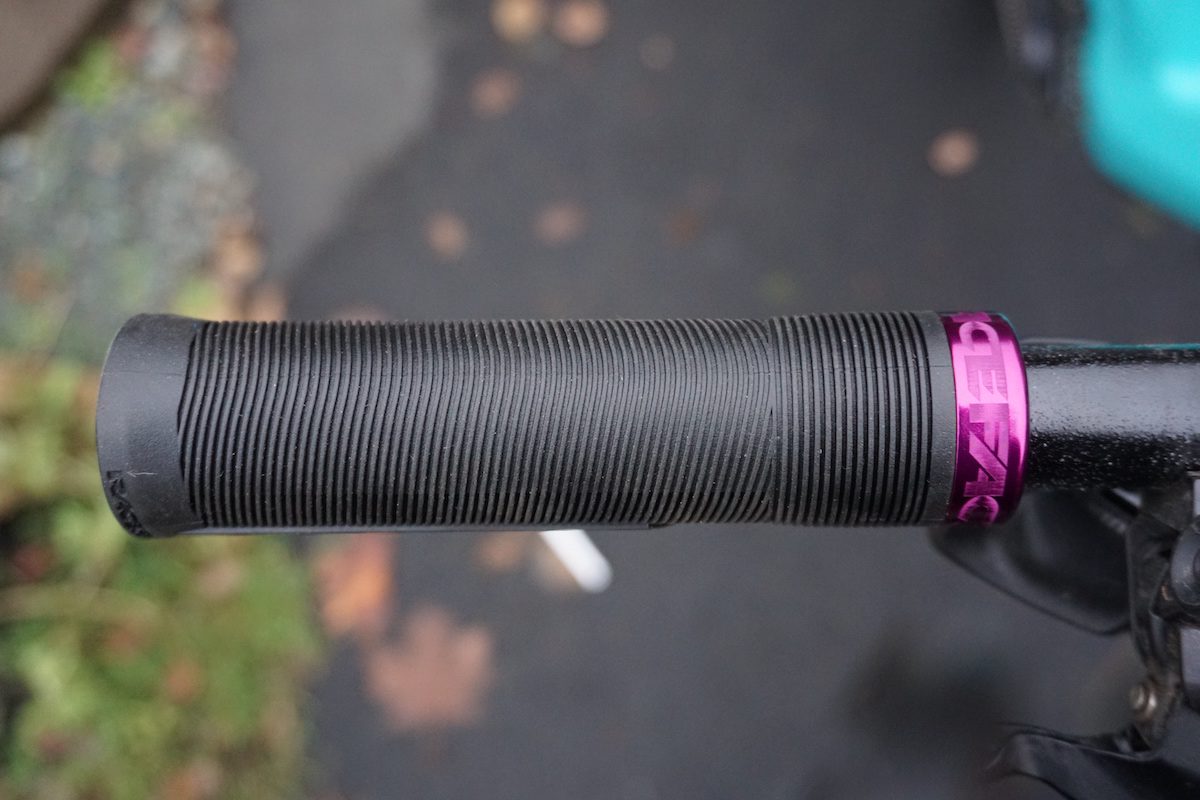
Lock-on grips: These feature a hard plastic core and metal collars that secure the grip to the handlebars with hex bolts. While slightly heavier, they’re durable and less prone to twisting during aggressive rides or in poor weather.
Installing push-on grips
1. Prepare the bars: Ensure your handlebars are clean and free of grease. Use a degreaser and a clean cloth, then let them dry completely. If your bars are even slightly dirty, your grip will spin.
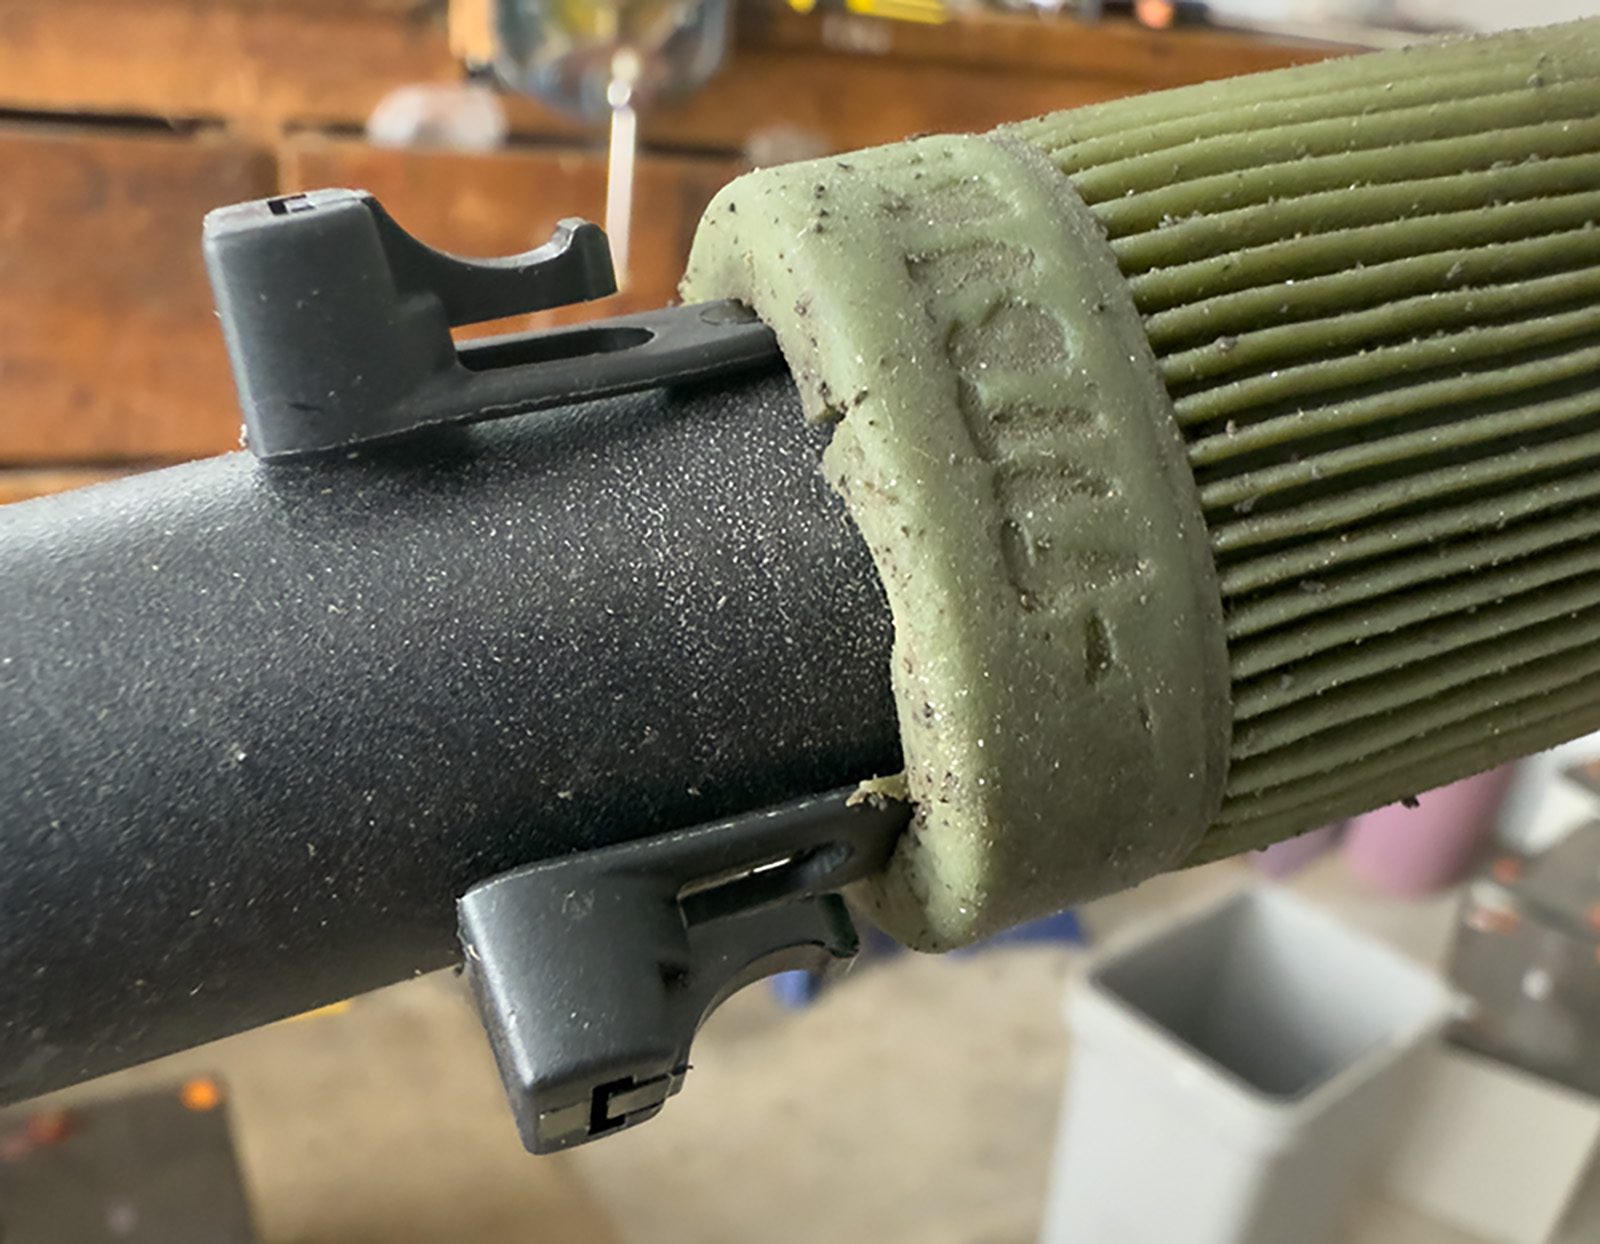
2. Sliding them on: Insert a two-to-four zip ties inside the grip to act as rails, allowing you to slide it on with minimal effort. This is a surprisingly effective trick. Before you push it all on, make sure your grips are aligned the way you want them. Once the grip is in place, carefully pull the zip ties out one by one.
3. Optional bonding: For added security, you can use grip glue or hairspray. These options help create a secure bond but require some drying time.
Installing lock-on grips
1. Assemble the grip: If the grip has separate collars, attach them to the grip and ensure any end caps are in place before installation.
2. Slide the grip on: Align the grip with the handlebar, ensuring it sits flush at the ends.
3. Tighten the bolts: Manufacturers will tell you to use a torque wrench to tighten the hex bolts, but who has…
Click Here to Read the Full Original Article at Canadian Cycling Magazine…